


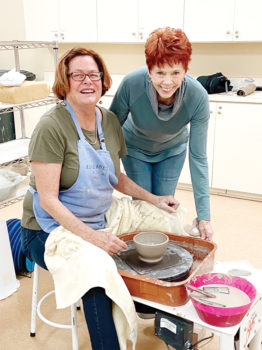
Liz Katz with her teacher, Charlotte McGovern
Rick Harwell
As a new potter, I completed the beginning course in pottery basics last year. I wanted to further my knowledge and enrolled in the Happy Potter’s introductory course for throwing on the potter’s wheel. With only four mechanized wheels our class was small, and we received a lot of individual attention and feedback. Our instructor, Charlotte McGovern, is a very experienced teacher and artisan potter.
The first fundamental aspect of throwing on the wheel is called centering. You place a ball of clay in the middle of the wheel and anchor it by pressing the sides of the ball until they are firmly attached to the surface of the wheel. After wetting your hands and clay, you start the wheel and use pressure from both hands to squeeze the ball of wet clay into a cone and then press down. As you cone up and down, centrifugal force moves the mass of clay to the center of the spinning wheel. At least, that is the theory. Like most beginners, I found centering to be a difficult concept to grasp. As a result, I made several spectacular errors in the muddy spinning environment. What finally worked for me was to close my eyes and feel the spinning mass of clay and totally focus on that feeling of being centered. During this “Aha” moment I felt as though I was in a remake of the movie The Karate Kid with me in the role of Daniel trying to learn the nuances of karate from Charlotte-san in the role of Mr. Miyagi. “Cone up, Cone Down, find your center.” With a lot of patience from my instructor and numerous failures, I finally achieved the Zen of Centering and could move on to the next skill.
After centering your clay, the next step is to use your thumbs or fingers to make a hole in the middle of your clay while the wheel continues to spin. Next you raise walls on your centered clay by pinching on the outside and inside of the newly created hole and moving them up as the wheel continues to spin. This creates a cylinder that could become a mug or vase. At the end of the first lesson, I had another revelation. The environment created by spinning lumps of muddy wet clay can leave you and the area around your wheel very messy. Two hours of wheel work needed an additional thirty minutes to clean up and properly store the new cylinders we made. In subsequent lessons we will learn how to put handles on our mugs, use the wheel to trim our projects, and create bowls and circular platters and plates.
Like other pottery projects, our job is not finished once we have thrown our pots. We will still need to fire them in the kiln to become bisque, glaze them, and re-fire again to finish the product. This process takes a lot of time, but in the end, you will be proud of your creation and it will be a valued object in your house or a very appreciated and personal gift for friends and family.
The Happy Potters are just one group of many artisans at the Creative Arts and Technical Center at Robson Ranch. If you haven’t been to the CATC, you owe it to yourself to come for a visit and see what appeals to you. We would love to have you join the Happy Potters and throw some pots.